Working with Checkpoints
Checkpoint Strategy
We recommend protecting Points of Risk in your Application's User Journey with Dodgeball Checkpoints. By default, Checkpoints will allow all requests to proceed. As you gain insight into fraudulent activity at this stage in the Journey, you'll be able to quickly add logic to address the fraud you see.
Checkpoints are the primary way to protect your application with Dodgeball. They contain the logic that determines whether a request should be allowed to proceed. This allows you to protect your application without having to touch your code.
Choose necessary Checkpoints
You can create as many checkpoints as you want. You can call them whatever you want, but we recommend using a name that describes the action you're protecting (e.g. CREATE_ACCOUNT, LOGIN, CREATE_LISTING, MAKE_PAYMENT). You can also add a description to help you remember what the checkpoint is for.
Checkpoints may reference 3rd party services from our Service Catalog or your own internal systems via an API call.
Create an Empty Checkpoint
When preparing to address a point of risk in your application (e.g. Making a Payment, Registration, Logging in, Changing Account Details, etc), we recommend starting with an empty checkpoint.
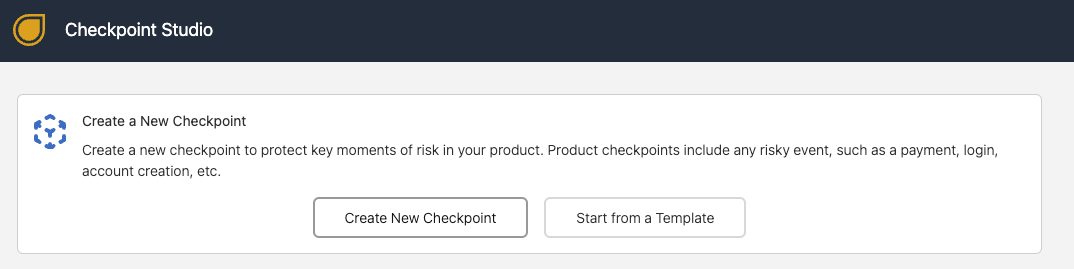
To create an empty checkpoint, go to the Checkpoint Studio, and click "Create New Checkpoint".
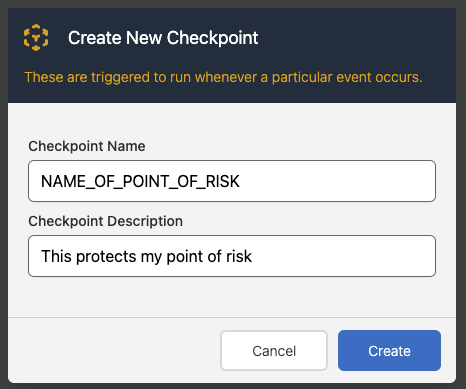
Give the Checkpoint a name that describes the action you're protecting (e.g. CREATE_ACCOUNT, LOGIN, CREATE_LISTING, MAKE_PAYMENT). You can also add a description to help identify the checkpoint later.
Your code calls checkpoints by name. To prevent unintentionally breaking your code, you can't change the name of a checkpoint once it's created.
For now, you can immediately publish the checkpoint. This will allow all requests to proceed. As you learn more about the fraud you're facing, you can add logic to the checkpoint to protect your application.
