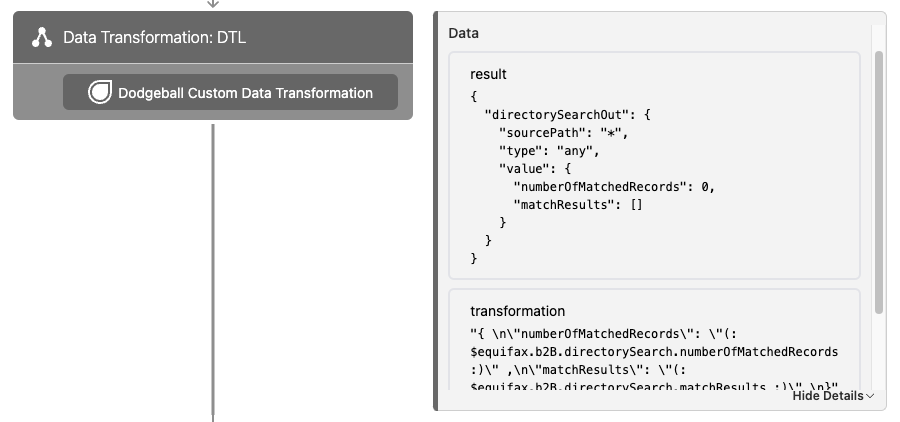
Data Transformation Language (DTL)
Data Transformation Language (DTL) is known as a powerful data manipulation toolset that allows you to extract, manipulate, and transform data. You can use DTL to describe how to transform one set of data into another, validate input data, or perform complex calculations.
The DTL block within the Checkpoint Studio allows you to harness this toolset: providing highly configurable and flexible data mapping functionality to your workflows.
Adding DTL Transformations to a Checkpoint
- From the Step Palette click on the Advanced tab. Scroll down until you see the Dodgeball Custom Data Transformation dropdown, then drag the Data Transformation: DTL step into the checkpoint flow diagram.
- Connect the step into the diagram where you want it to run. You will need to place the transformation after any steps that output data required by transformations. For example, if you are using Kount to generate a Risk Score, you will need to add the transformation step after Kount in the workflow.
- Click on the Transformation Step to open up the flyout configuration.
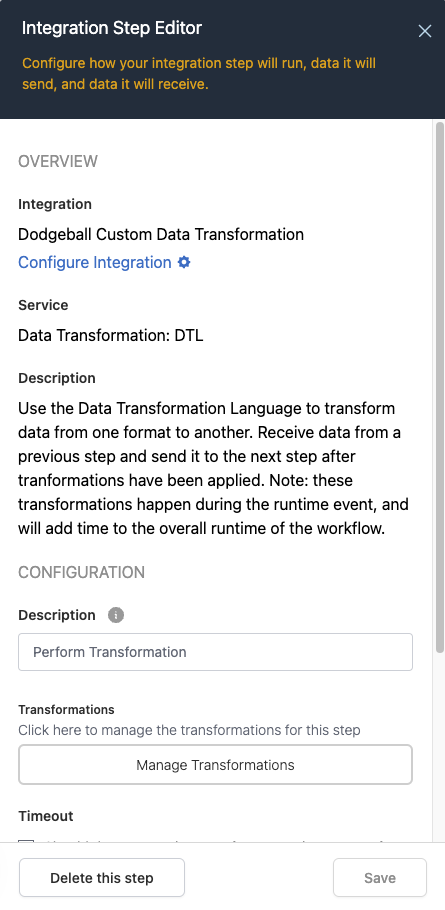
Your flyout will look something like the image below:
- Fill out the Description field and click Save to optionally provide a description of these transformations, which will display on the workflow view.
- Click on Manage Transformations to open up a modal that allows you to configure the transformations happening within the step.
Managing Transformations for a Step
When you click on the "Manage Transformations" button from the flyout, it will open a modal that looks something like this:
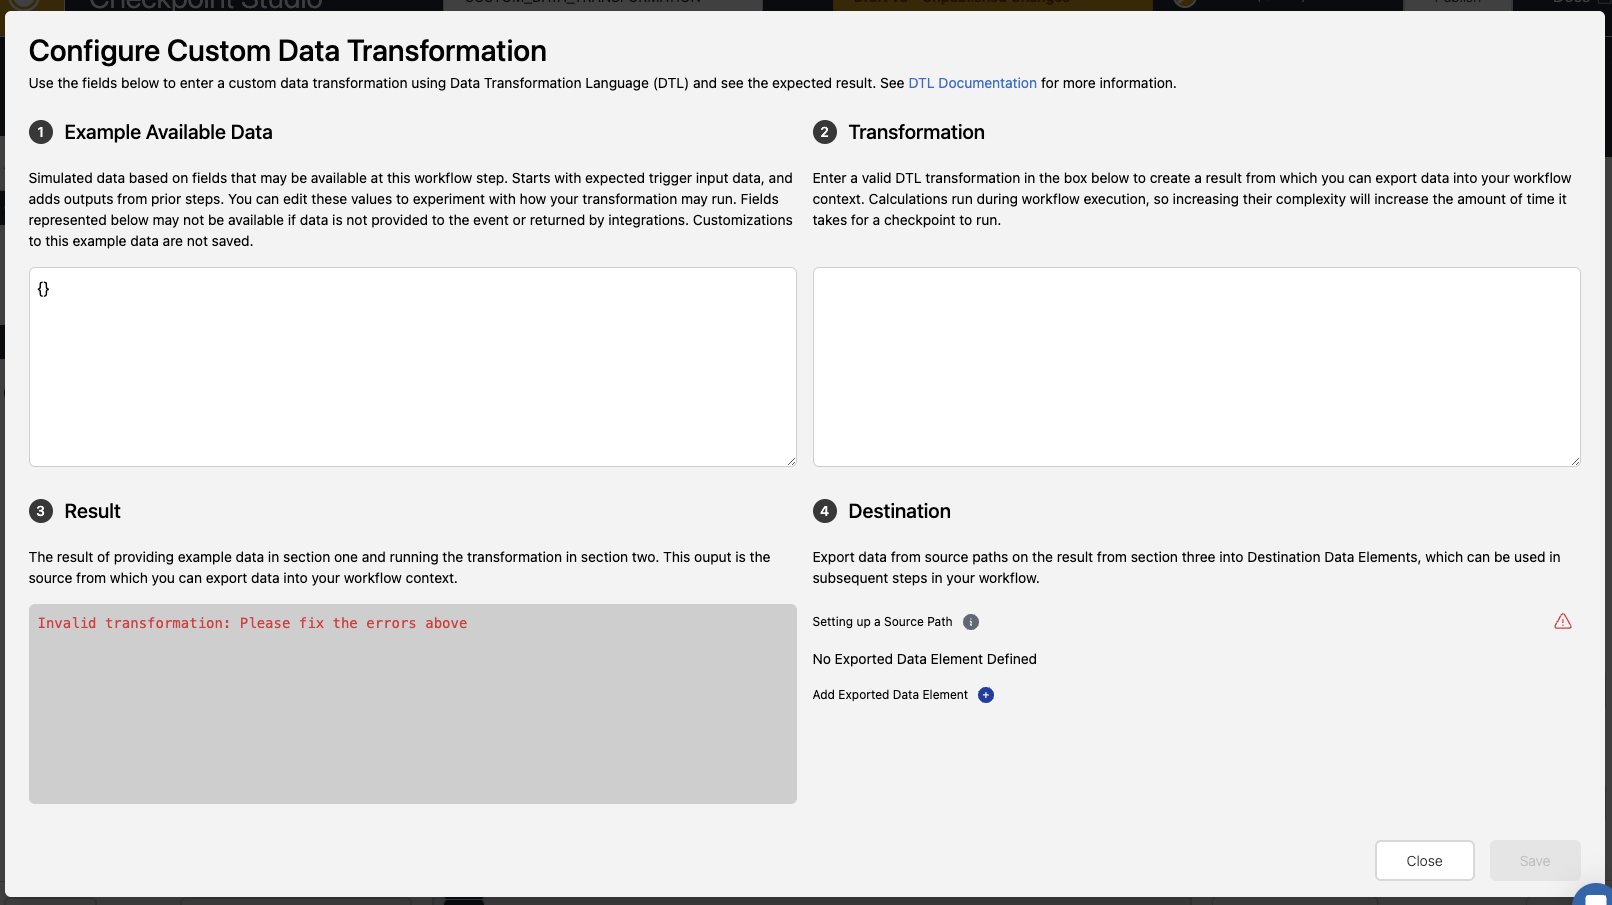
There are four sections:
1: Example Available Data
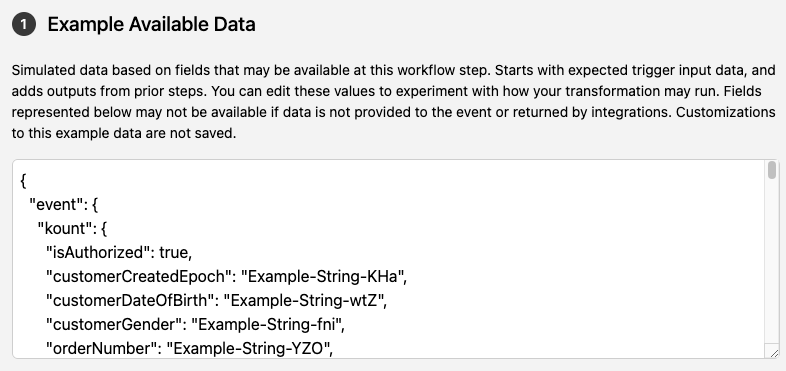
This section contain a JSON representation of mocked data that may be available to the workflow at this step. This input data can be temporarily modified, but any changes will not be saved. It will be sent as input data to the Transformation block, in order to generate the result. Data is calculated based on the combination of possible input fields for the checkpoint, combined with the possible outputs of steps prior to the Custom Data Transformation Block.
If you place this in a workflow with an Integration Service Step, you will see its event data populated with mock values in the block:
2: Transformation
This block is where you enter a Data Transformation Language (DTL) transformation. See their documentation here for examples of proper usage.
Transformations must provided as a string enclosed by double quotes, or a valid JSON object. Some quick examples include:
"(: $event.someIntegration.isAuthorized :)"--> Returns the value sent into the checkpoint forsomeIntegration.isAuthorized{ "myCustomValue": "(: $event.someIntegration.isAuthorized :)"}--> Returns an object with the keymyCustomValuewith the value we sent into the checkpoint forsomeIntegration.isAuthorized
Do not send secrets into a DTL transformation. Data returned from DTL is logged in Developer Logs, and may be passed on throughout the application. For example, a transformation like this { "myCustomValue": "A MANUALLY TYPED SECRET" } would not hide "A MANUALLY TYPED SECRET" later on in the workflow processing. The same risks apply when you send fields with sensitive values into a transformation.
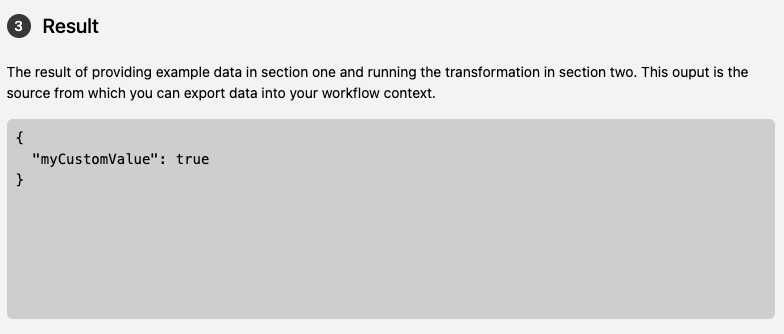
3: Result
You can preview the result of your DTL calculation based on Example Available Data in the "Result" block. For example, with the myCustomValue example provided above, the result might look like this:
4: Destination
In order to have the output of your DTL step available later on in the workflow, make sure to export it in the Destination Block.
First, click "Add Exported Data Element".
Second, you will need to choose a "Source Path". If you want to return the result inside of myCustomValue you can type myCustomValue here. You can also return the entire result by typing * into the Source path field.
Third, you will need to configure the Destination Field - this is the name under which the exported value will be avaible later on in the workflow. You can click on the pencil icon to edit the field. Make sure to choose a type that makes sense based on the value of your result For example, we can name our field myCustomExportedValue, and give it a Boolean type.
If you want to send data directly from this step to another integration, you can map from DTL results to a field that a future integration step would normally receive from event data.
For example, you can take the value you retreieved from event.someIntegration.isAuthorized and send it to another integration by mapping it to a field like someOtherIntegration.someOtherExpectedBooleanField - this is particularly useful if you have applied complex tranformation logic. You can potentially craft the entire payload for an integration and set that payload here.
You can export multiple fields in this way if you desire.
In the end, your Destination block should look something like this:

5: Remember to Save
Once you have set up your transformation, remember to click the "Save" button on the bottom right of the modal!
Using Transformed Values
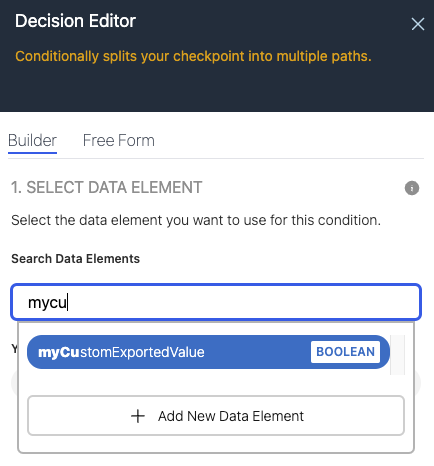
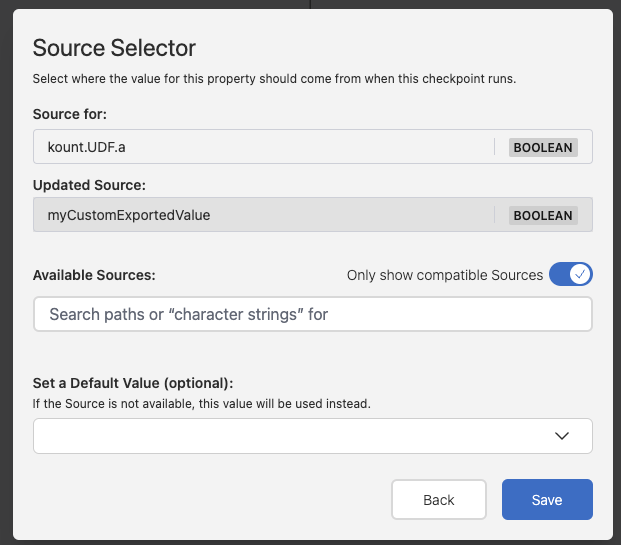
Once you have exported transformed values, you can use them throughout your workflow.
Condition Editor Example:
Input Data Mapping Example:
Troubleshooting
When you run a Custom Data Tranformation: DTL Step, you will see logs for the step in the Developer Logs section of your Application. You can examine the result receieved from your transformation, as well as the transformation itself in these logs
